So, I spend some time on tik-tok (just a little) and I continuously saw folks making these super cute shirts.
The Shirts
I have loads of tshirts…long story, but I thought I was going to be the tshirt queen when I started this business. I thought I would just post this darling shirt and the masses would come running. So, again, I have lots of tshirts. I grabbed several of these wonderful Bella + Canvas dark grey tshirts. You can buy these exact tshirts HERE
Design Tip
I went outside (thanks for the first sunny day in ions, Georgia) and laid my shirt out on my driveway. This may seem harsh, or even dirty, but I figure the look we are going for is slightly grunge-what did I have to lose? I took forever cutting cardboard boxes open to put inside the shirt. This not only helps the shirt keep its form to work with it better, it also keeps the layers of the tshirt separated. If you enjoy this process and want to do more, I would grab some of these tshirt forms HERE.
Step 1
Once you have your tshirt laid out, you are ready to start bleaching.
First, make sure you have on gloves. I forgot to wear mine, and I can still smell bleach on my hands. This was 3 days ago! *These* gloves on Amazon are perfect for the job and are inexpensive.
Coyacool Disposable Gloves - Powder Free, Latex Free, Food Grade Gloves, Cleaning Gloves, Blue
Step 3
Third, the bleach. You can purchase the pills here, you can mix them with water when you are ready to use them. You can also buy the good ole regular bleach here. A lot of people use this toilet cleaner bleach. It has more of a gel consistency. I just couldn’t bring myself to do it, nor did I want my tshirt to smell like a bathroom. I guess it is just personal preference. Please make sure you wear safety goggles. On a very windy day, you can’t guarantee where the bleach will go as you spray…not that I would know from personal experience or anything. Also wear yucky clothes. Again, not speaking from personal experience.
heavy or light, splattered or spotted, it is up to you!
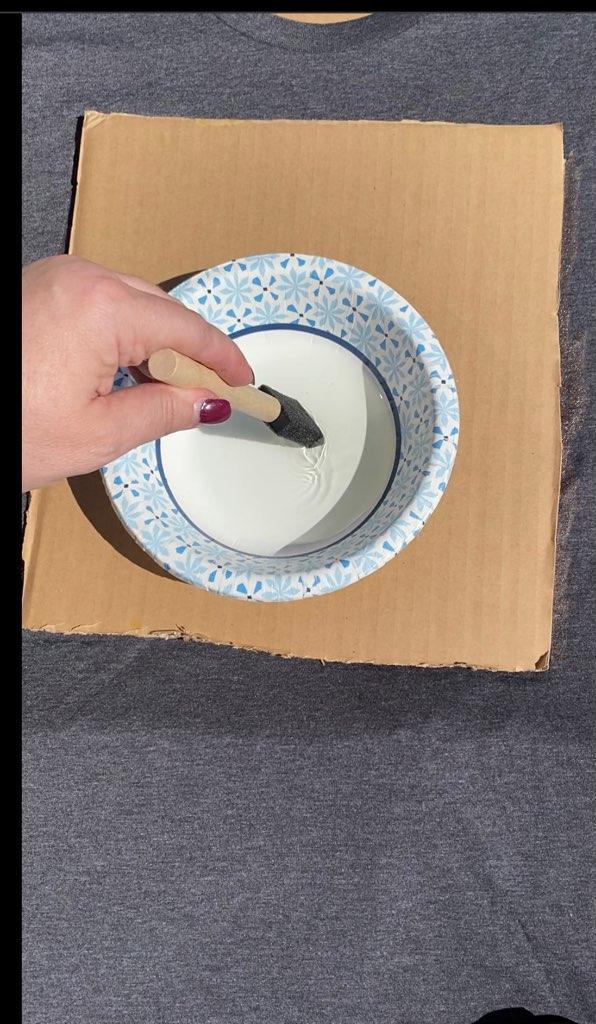
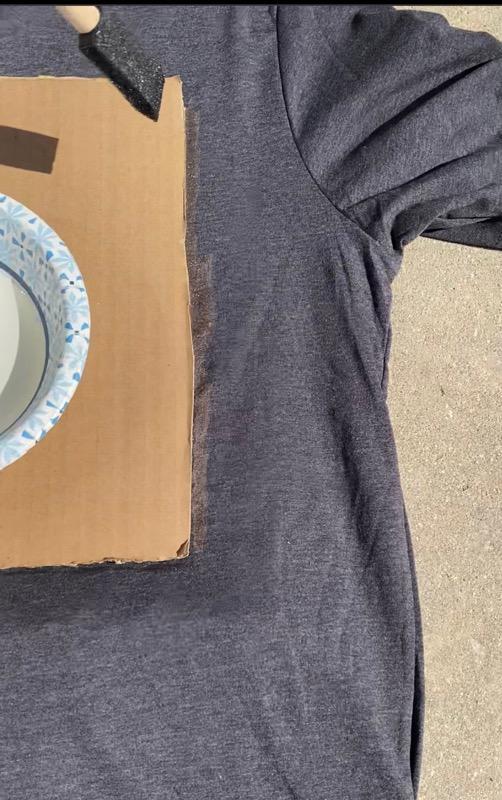
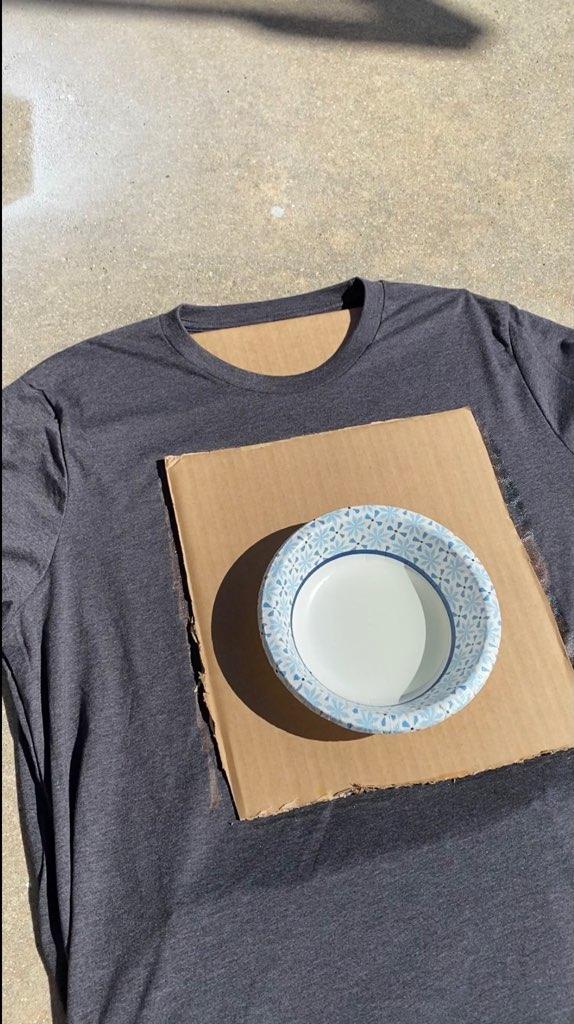
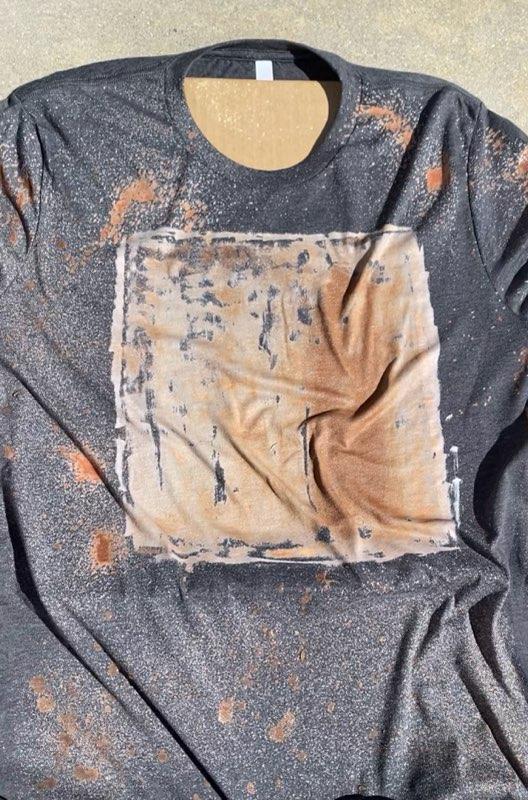
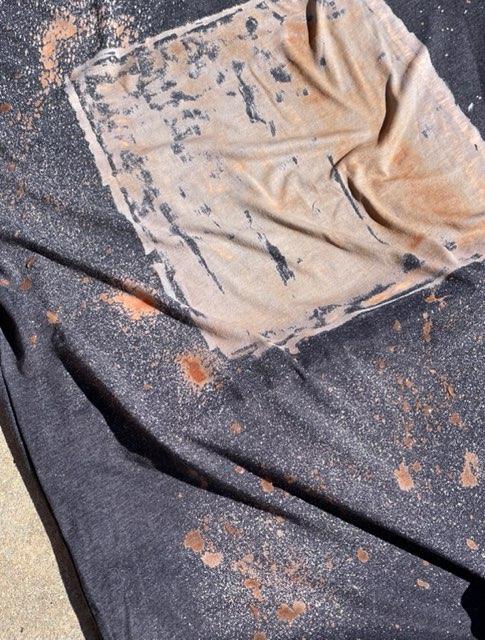
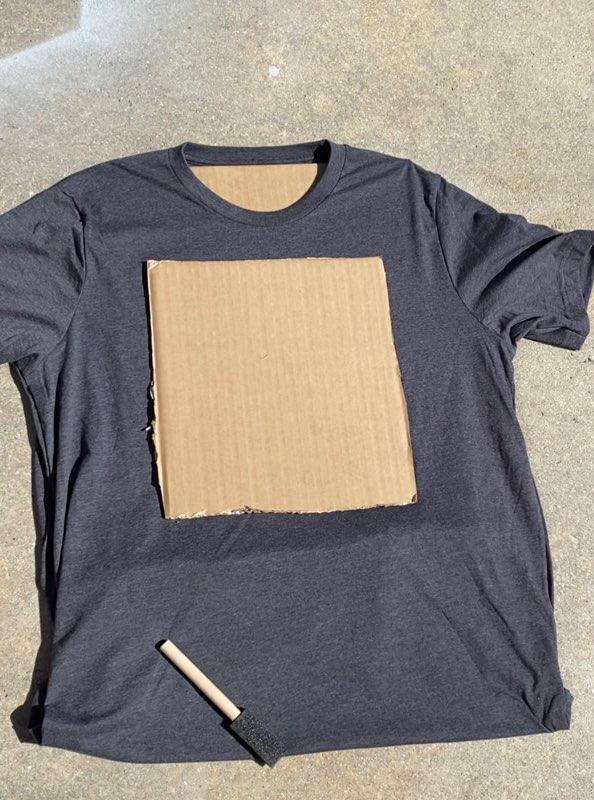
I cut yet another piece of box (this seriously took a while) to the shape I wanted the square to be on the front. You take a small bowl of bleach and go around the edges to make your outline, remove the box square, and use a paintbrush to finish the rest. This is a technique I saw on Tik-Tok…from naptimecraftymama. She has lots of videos on the different processes she does with these.
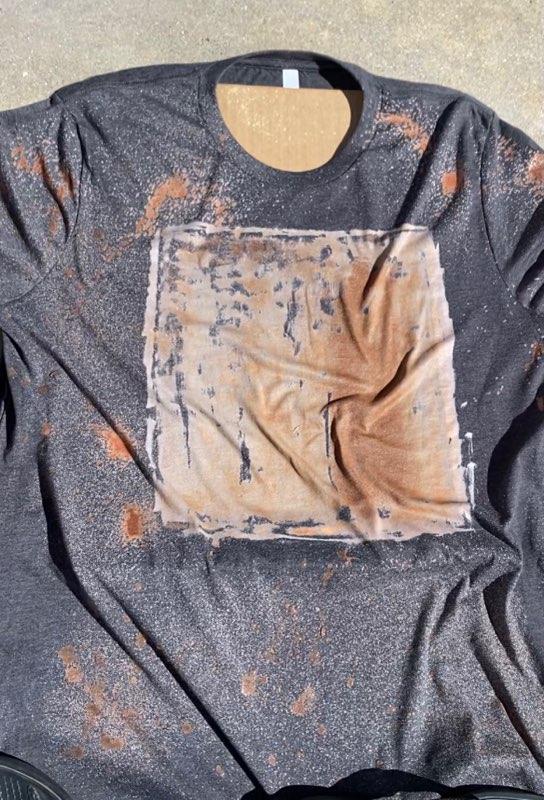
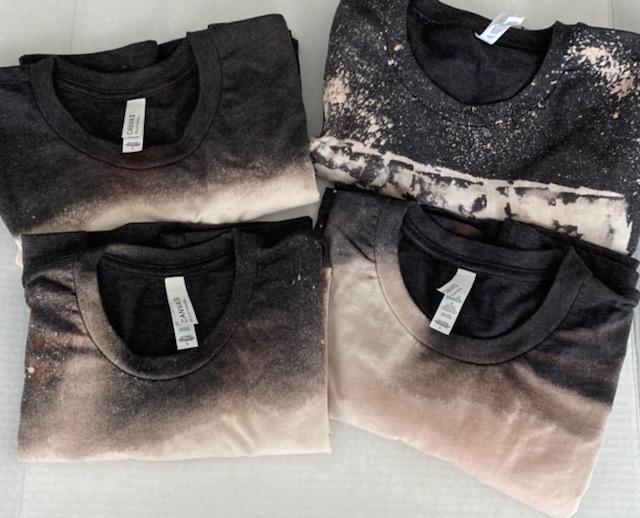
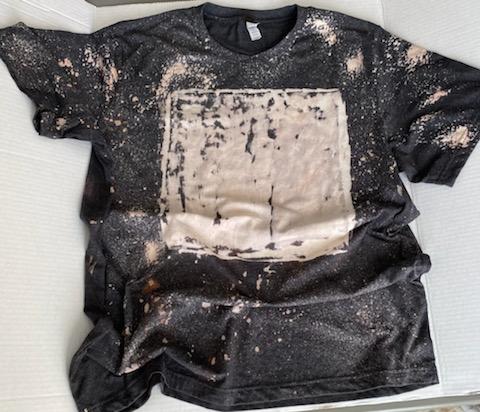
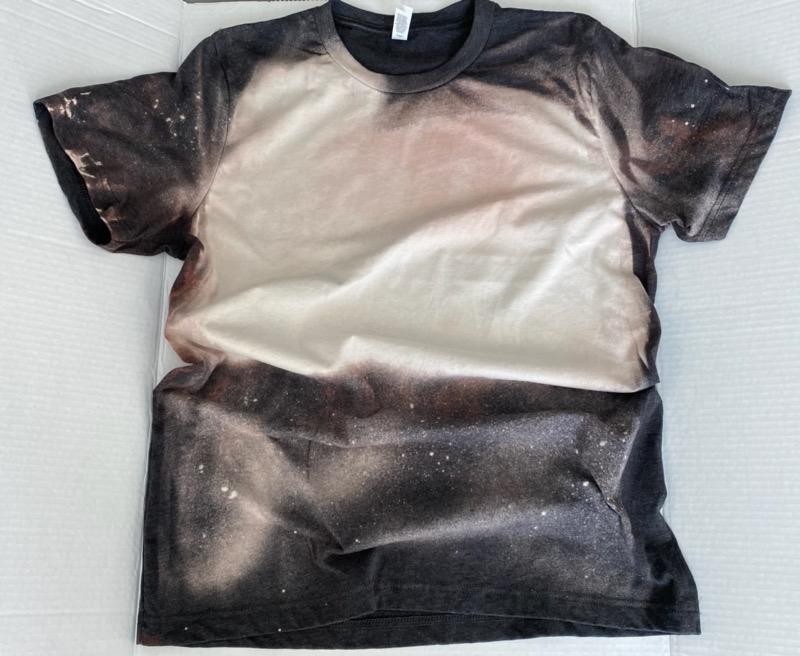
Once you have finished your square, you just spray all over to your liking. You can do it heavy or light, splattered or spotted, sporadically in different areas, it is up to you.
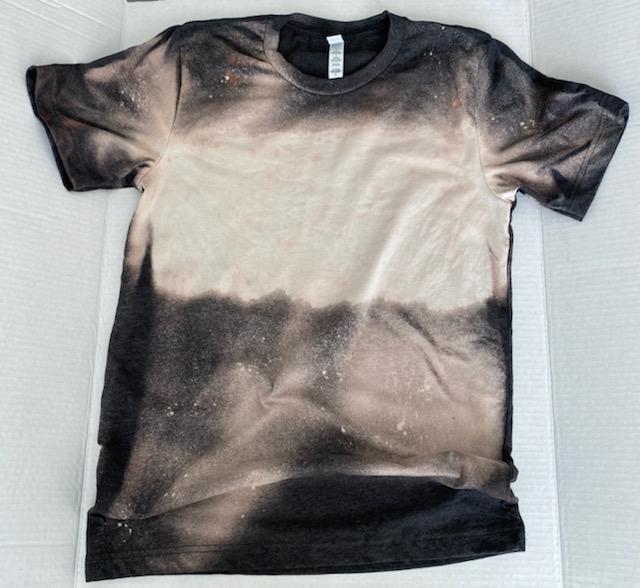
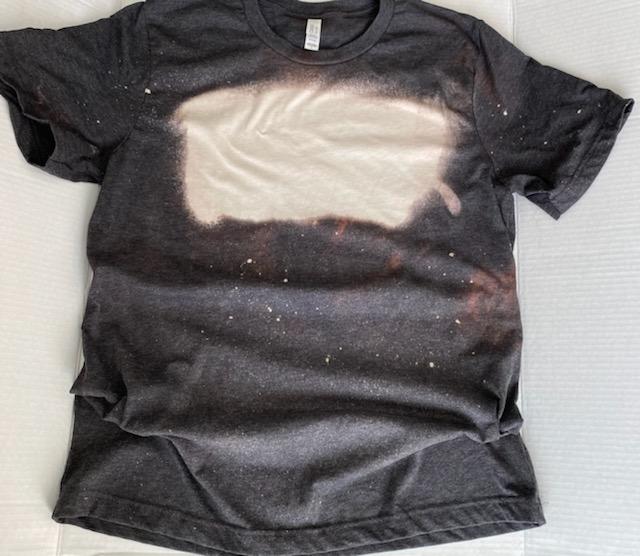
As you can see in my photos, I sprayed boxes and rectangles on my others without a guide, and I loved the way they turned out. Now they are just waiting for me to create designs to put on them! Have fun!


